


SendWebPush Setup — Google AdManager Guide
Complete Guide: How to Register and Set Up Your Website on SendWebPush
If you want to monetize your website using Google AdManager or improve your ad performance through SendWebPush, this step-by-step guide will walk you through everything — from account creation to domain approval.
SendWebPush helps publishers connect their websites with Google’s ad-serving technologies in a simplified and efficient way. Let’s go through the entire process in detail so that your registration and setup are successful on the very first attempt.
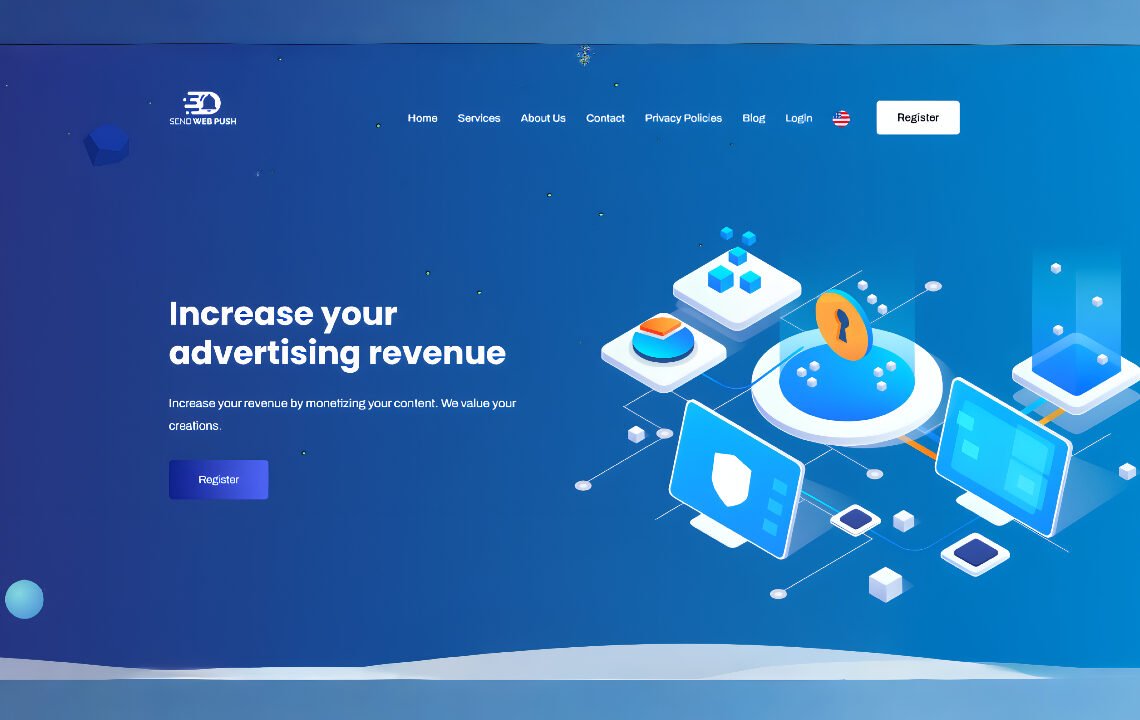
Step 1: Access the Official SendWebPush Website
To get started, open your browser and visit the official SendWebPush website:
👉 https://sendwebpush.com
Once you’re on the homepage, click on the “Register” button. This will take you to the registration form, where you can create your new account.
Step 2: Create Your SendWebPush Account
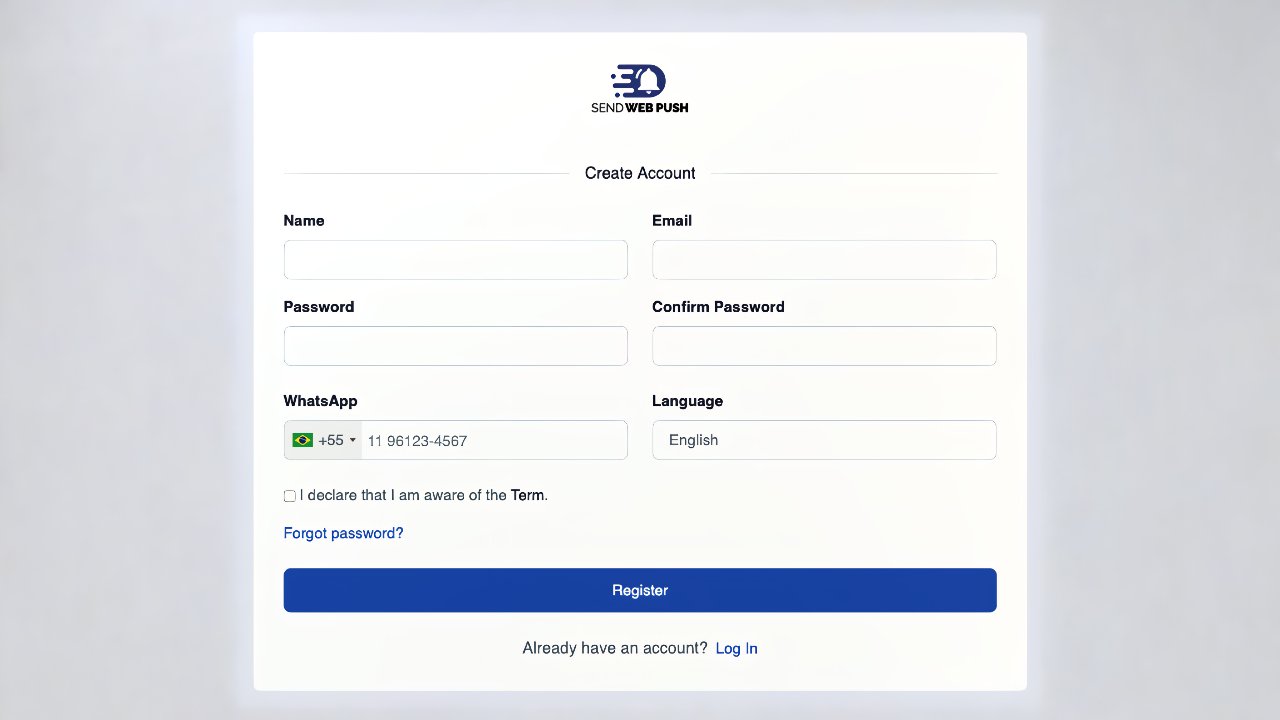
The registration process is quick and easy. You’ll be asked to fill in the following details:
- Full Name: Use your real name or your company’s name.
- Email Address: Enter a valid email address that you check frequently.
- Password: Create a strong password with a mix of letters, numbers, and symbols.
- Phone Number: Provide a number that can be used for verification or communication.
After entering the information, carefully read the Terms of Use and Privacy Policy. Tick the checkbox to confirm that you agree with the conditions, and then click Register to create your account.
Step 3: Validate Your Email Address
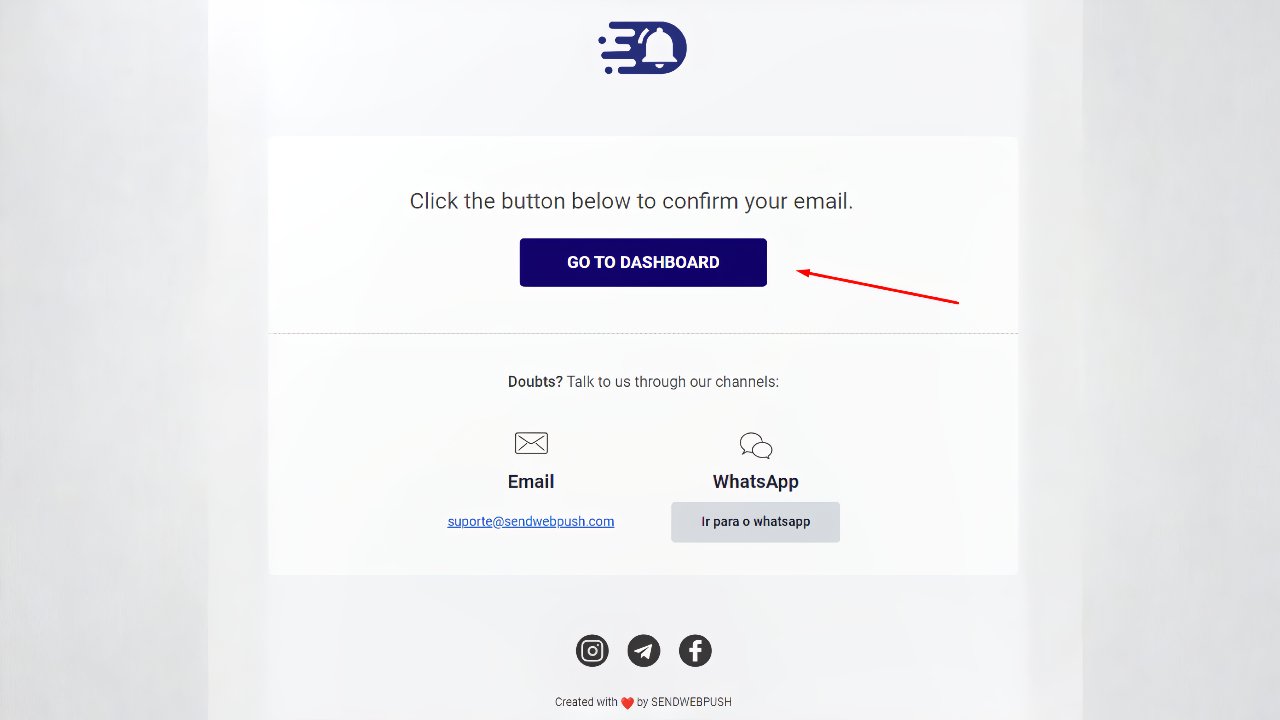
Once you submit the registration form, SendWebPush will send you a confirmation email.
Go to your inbox and look for an email from SendWebPush. If you don’t see it, check your spam or promotions folder.
Inside that email, you’ll find a validation link. Click on it to verify your account.
This step is mandatory — your account won’t be activated until you confirm your email.
Step 4: Add and Register Your First Website
After your account is verified, log in to your SendWebPush dashboard.
Now, it’s time to connect your first website and link it with Google AdManager.
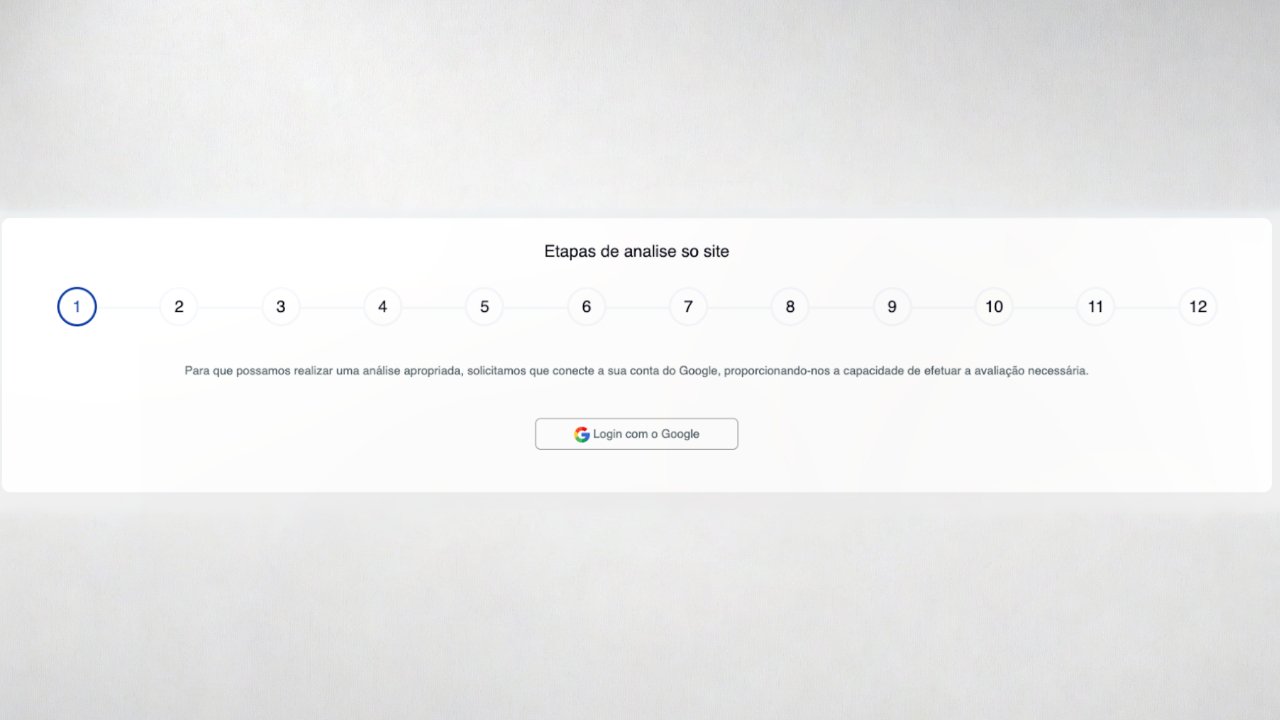
Step 4. Connect to Google AdManager
To continue, you need to log in with your Google account that is linked to Google AdManager or AdSense.
💡 Tip: The Google account you use here doesn’t have to be the same one you used to register on SendWebPush — but it must be associated with your AdManager or AdSense account.
Once you log in, SendWebPush will ask you to choose your desired account type.
Step 4. Choose the Account Type

SendWebPush offers two main account types:
- Inventory Management (IM):
Ideal for website owners who want full control of their ad inventory and optimization process. - Account Management (AM):
Suitable for agencies or users who want SendWebPush to handle ad management on their behalf.
If you’re a solo publisher managing your own site, choose Inventory Management.
If you work with multiple websites or clients, Account Management may be more appropriate.
Step 5: Register Your Website for Review
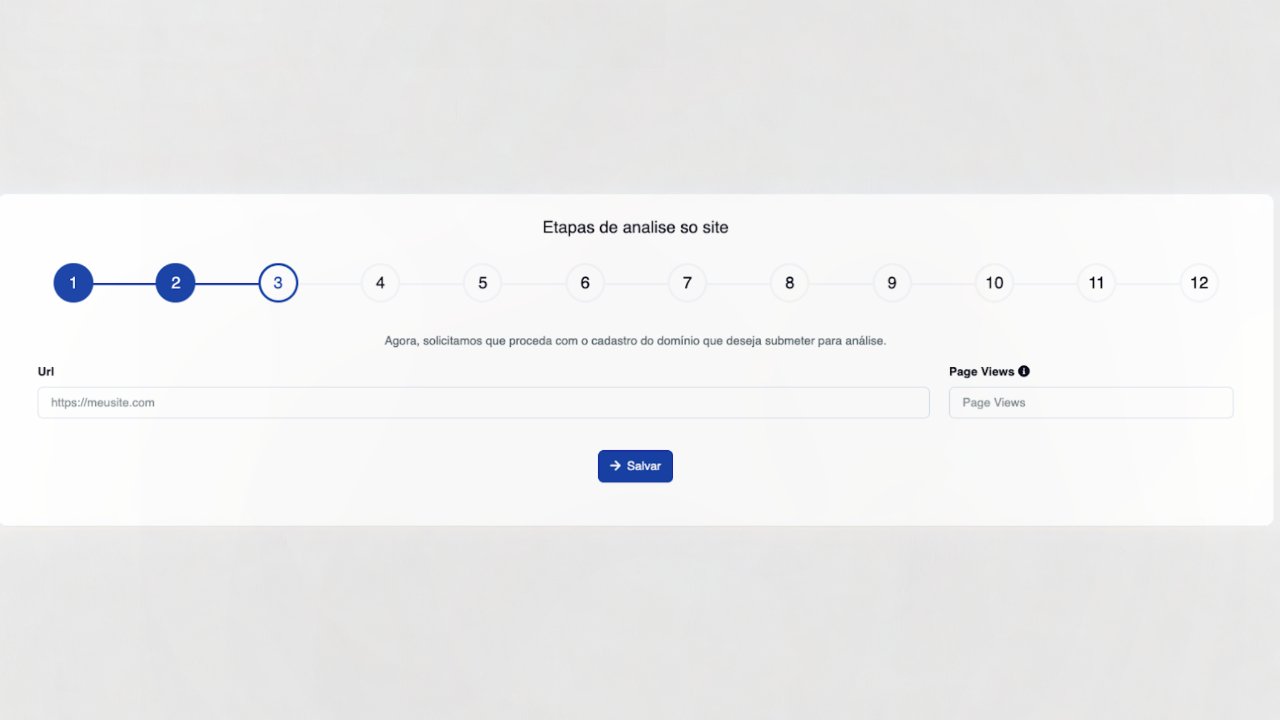
Next, you’ll be asked to add your website details.
This step ensures that SendWebPush and Google can evaluate whether your site meets the eligibility criteria for ad monetization.
You’ll need to provide:
- Website URL: Always include “https://” before your domain (e.g.,
https://yourdomain.com) - Average Monthly Visits: Provide an honest estimate of your site’s traffic.
⚠️ Providing false traffic data can delay or even block your approval.
Once submitted, your site will move to the tag configuration step.
Step 6: Configure Your Website Tags

This is one of the most important parts of the process because it helps SendWebPush analyze and optimize your ads properly.
Tag configuration has two main tasks:
6.1: Add the Script to Your Website Header
SendWebPush will generate a small script code for your website.
You must copy this script and paste it between the <head> and </head> tags of your website’s HTML.
If you’re using WordPress, you can add the script easily through a plugin like Insert Headers and Footers or Ad Insert (recommended by SendWebPush).
This script allows the platform to collect essential analytics and verify that your site is active.
6.2: Add the ads.txt File to Your Website Root
The next step is to verify site ownership through the ads.txt file.
Here’s how to do it:
- Copy the code provided by SendWebPush.
- Open your website’s root directory (this is usually
/public_html/). - Create a new file named ads.txt if you don’t already have one.
- Paste the provided content inside the file.
- Save the file and upload it back to the root folder.
If you already have an existing ads.txt file, simply append the new lines at the bottom of your current file.
You can verify that the file is live by visiting:
👉 https://yourwebsite.com/ads.txt
Once this is done, your website is ready for traffic analysis.
Step 7: Website Traffic Analysis

In this stage, SendWebPush evaluates whether your website receives consistent and quality traffic.
The analysis considers various metrics like:
- Number of unique visitors
- Frequency of visits
- Geolocation of users
- Bounce rate and engagement time
🚨 Important: Do not remove the verification script added earlier during this phase. It’s essential for the analysis.
If your site has stable traffic and follows Google’s guidelines, it will move on to internal analysis.
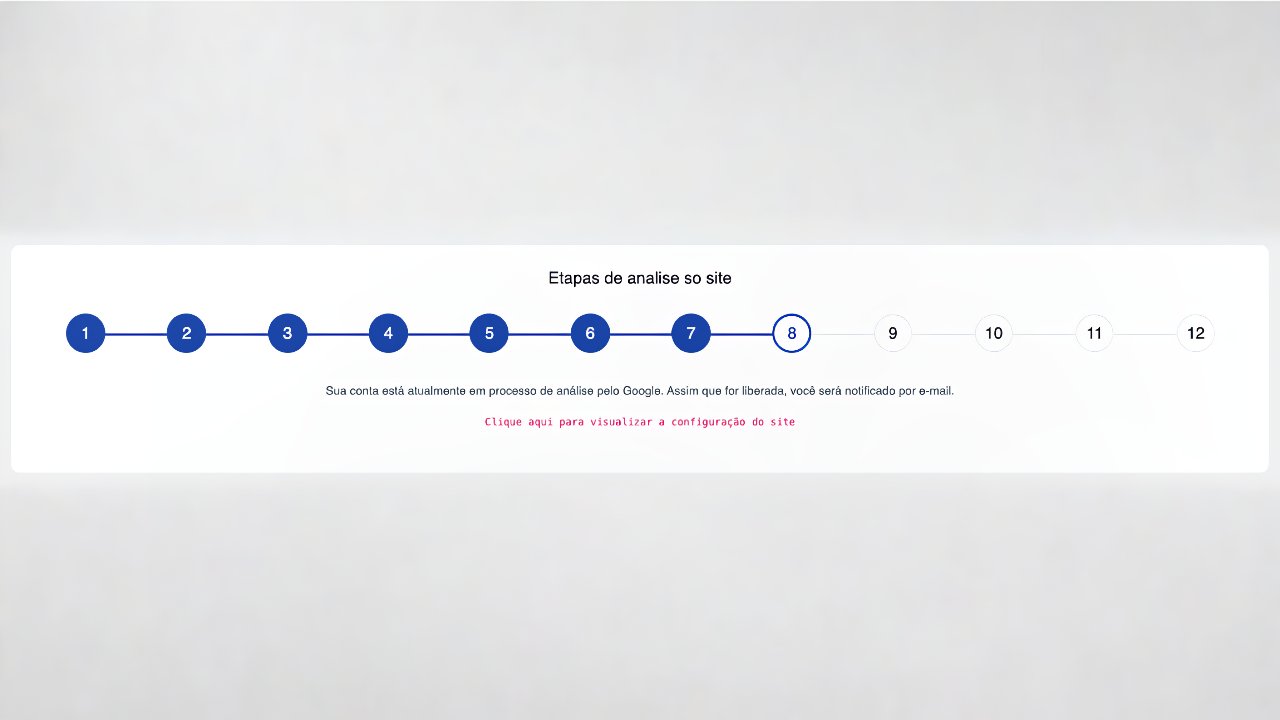
Step 8: Internal Quality Review

After the traffic test, your website will undergo an internal review by SendWebPush’s quality assurance team.
During this step, the team checks several important factors:
- Content originality and relevance
- Proper layout and structure
- Presence of a privacy policy page
- Compliance with Google’s content rules
- User experience and loading performance
This pre-approval step ensures that your site is suitable for Google AdManager and has a higher chance of getting approved quickly.
Step 9: Accept the Google AdManager Invitation

If your site passes the internal review, you’ll receive an email invitation directly from Google AdManager.
You must open the email and accept the invitation to proceed.
This allows SendWebPush to link your website with Google’s ad management system and continue the final verification steps.
Step 10: Account Review and Approval
Now comes the account verification phase. Depending on your chosen account type, the process can differ slightly:
- For Account Management users:
The account analysis step is skipped because SendWebPush manages ad inventory for you. - For Inventory Management users:
Google will perform an additional verification process. You’ll receive updates via email once it’s completed.
After approval, your SendWebPush account becomes fully functional.
Step 11: Domain-Level Google Review
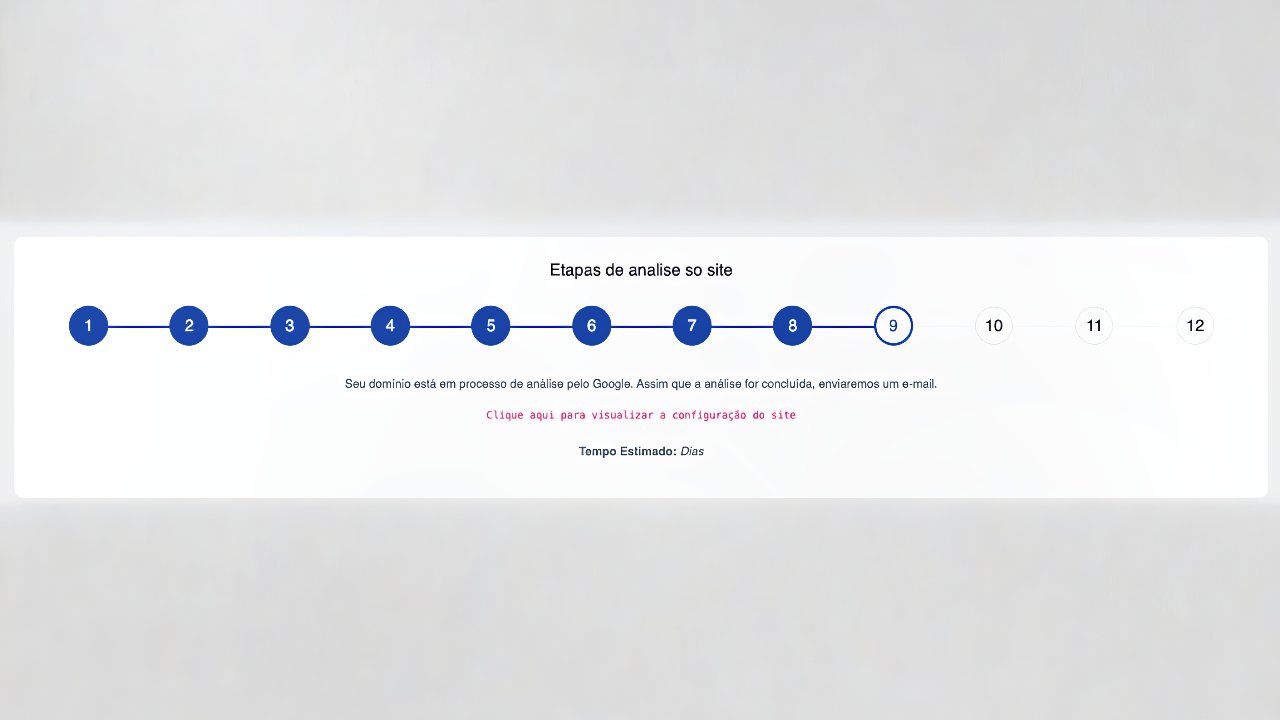
Once your account is approved, Google begins the domain-level verification process.
This can take up to 15 business days, depending on traffic volume and analysis queue.
During this time, Google’s team will check your site in-depth for:
- Compliance with ad placement policies
- Content quality and safety
- Organic traffic consistency
- Site structure and usability
If everything meets the requirements, your domain will receive final approval, and you can start monetizing your content.
Step 12: What to Do If Your Website Is Rejected
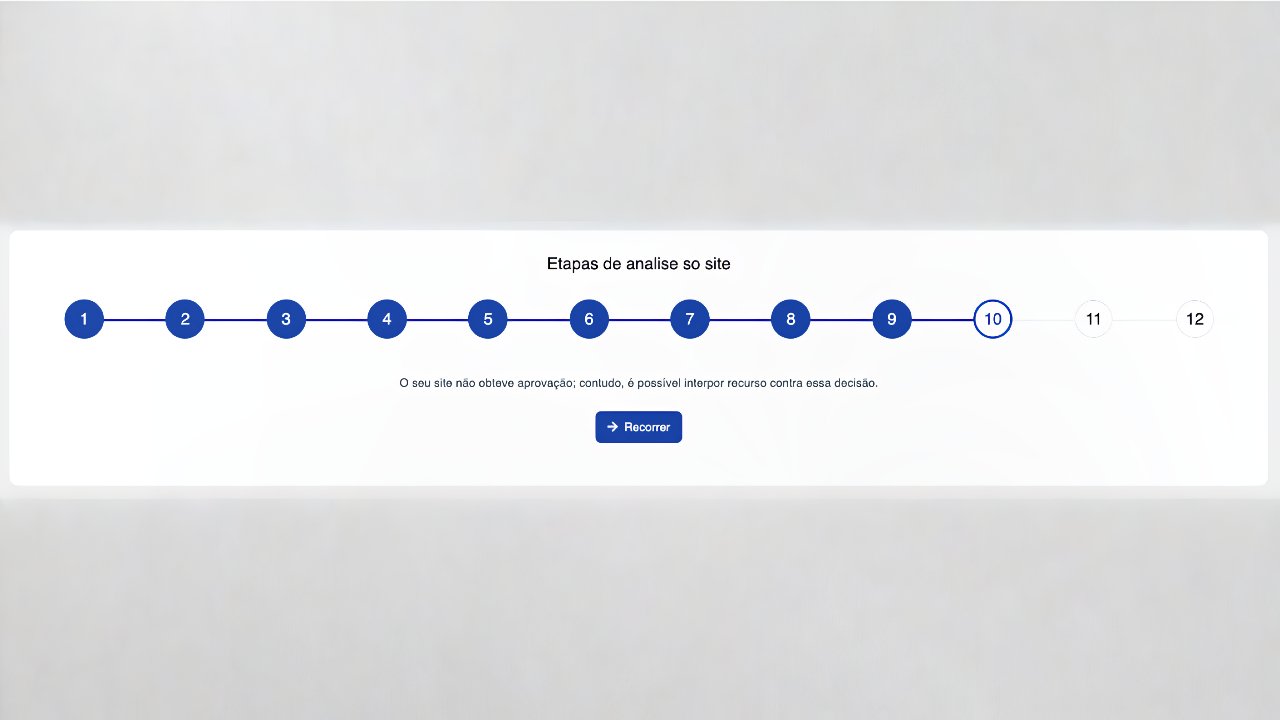
Sometimes, even with best efforts, a site may get rejected.
But don’t worry — SendWebPush allows you to appeal the decision.
You’ll receive an email explaining the reason for rejection.
Make the necessary changes (for example, fix policy issues, add privacy pages, or improve content quality), and then submit an appeal request for another review.
Pro tip: Before appealing, make sure your site receives consistent real traffic and has no policy violations.
Step 13: Ad Exchange Configuration (For Account Management)
If your account type is Account Management, you’ll need to configure your Ad Exchange settings.
This step allows you to manage ads through the Ad Exchange network efficiently.
SendWebPush provides all the necessary setup options directly in your dashboard, including:
- Ad placement management
- Revenue reports
- Optimization tools
Once configured, your site will start showing ads managed by Google Ad Exchange.
Step 14: Final Dashboard Access
After completing all verification steps, your SendWebPush dashboard will unlock full access.
From here, you can:
- Monitor ad performance
- View revenue reports
- Add or remove websites
- Manage your tag integrations
You’re now officially connected to Google AdManager via SendWebPush and can start earning revenue from your website’s ad space.
✅ Pro Tips for a Successful Approval
To make sure your website passes every stage quickly, follow these best practices:
| Requirement | Description / Instruction |
|---|---|
| Original Content | Use only original content. Avoid copied or AI-generated text. |
| HTTPS / SSL | Ensure the website uses HTTPS with a valid SSL certificate. |
| Required Pages | Include Privacy Policy, About, and Contact pages. |
| Traffic Requirement | Maintain consistent daily traffic (minimum a few hundred visitors). |
| SendWebPush Script | Do not remove the SendWebPush script during analysis. |
| Content Restrictions | Avoid restricted material (adult, illegal, or copyrighted content). |
| ads.txt Configuration | Keep the ads.txt file correctly set up for ad verification. |
| Header Scripts | Ensure all header scripts remain properly configured and functional. |
Following these guidelines improves your website’s credibility and speeds up Google approval.
Conclusion
Getting your website approved through SendWebPush and Google AdManager might seem like a long process, but it’s worth it. Once your site is verified and connected, you’ll gain access to powerful advertising tools, better optimization, and higher ad revenue potential.
With the steps outlined above — from registration and validation to tag configuration and final approval — you can easily complete the entire setup without confusion or errors.
Start today by visiting sendwebpush.com, register your site, and take the first step toward monetizing your content with Google’s trusted advertising technology.


1 Comment
Vielen Dank für diesen hilfreichen Artikel! Er hat sehr klar erklärt, wie man sich beim SendWebPush-Werbenetzwerk registriert, und ich konnte die Registrierung ohne Probleme abschließen. Weiter so!